
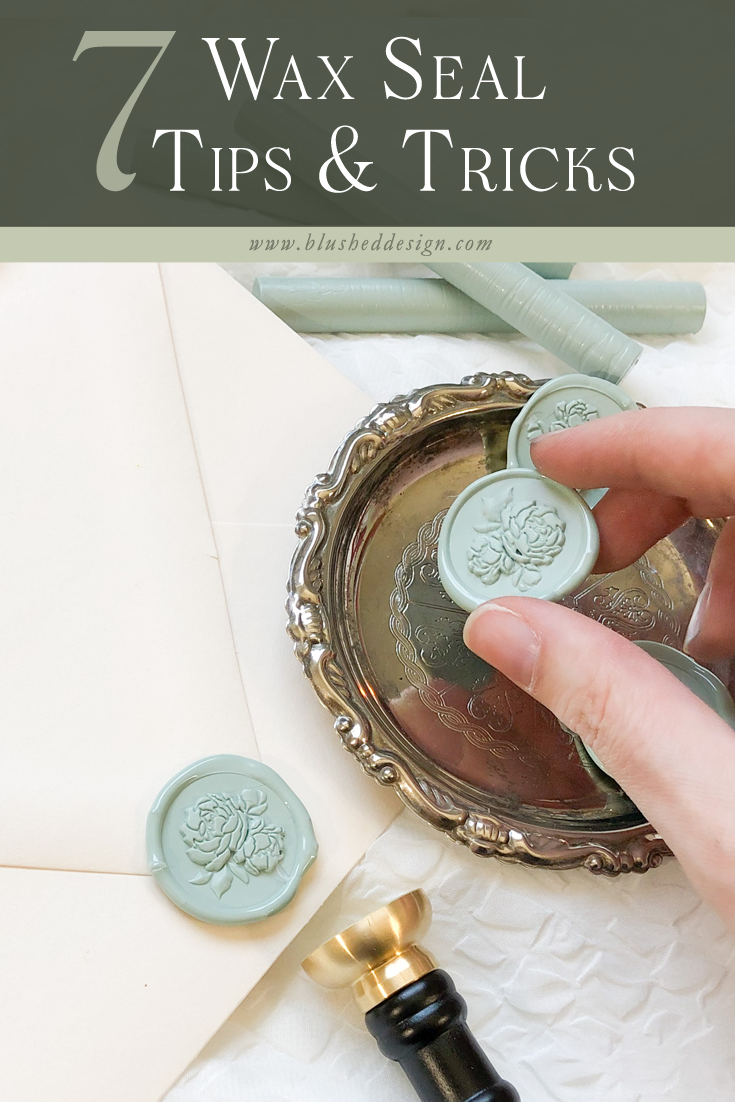
7 GAME CHANGING Wax Seal Tips and Tricks
Wax seals are one of my love languages. I’m sure of it! I love working with them, but they can be super tricky and frustrating at times! Since publishing my first wax seal tutorial over a year and a half ago, I have received so many questions and requests that I decided it was time to share another video featuring some of my favorite wax seal tips and tricks! I’ve been working with wax seals for a few years now as part of my job, and I have definitely learned a thing or two since I first started! Whether you’re using a glue gun or a sealing spoon, you’re sure to find a few of these wax seal tips that will help make your relationship with wax seals a little more rosy than before!
SUPPLIES:*
- Blushed Bride Stamp: https://bit.ly/3bt4c9L
- Vintage Peonies Stamp: https://bit.ly/3AVacCV
- Vellum Wax: https://bit.ly/3OhZrxE
- Prosecco Wax: https://bit.ly/3uStrcy
- Rosa Wax: (similar) https://bit.ly/3yLqI63
- Silver Sage Wax: https://bit.ly/3yKS786
- Champagne Wax: https://bit.ly/3yNlG8R
- Glue Gun: https://bit.ly/3R3aWf8
- Sealing Spoon: https://bit.ly/3u7l9NG
1 - How to Change Your Glue Gun Wax Colors
Use a clear glue stick to push old wax out of a glue gun to change colors! You will still need to press one or two “throw away” stamps of the new color before you start on your final project, but since glue sticks are so much cheaper than wax (and a little thicker), they are a great alternative and avoid the frustrating wait watching the new wax color “marble” with the old!
Do you make a lot of wax seals??
If you’re a stationer like I was, I recommend having multiple guns for your wax! Separate your glue guns into “like colors”. I have one for deeper tones, one for my lightest tones (white, ivory, champagne), and one for my darker metallic colors. Based on the color palettes that you work with, a different pairing might work best for you, but this will save you a ton of wax if you’re not switching from a dark to light color!
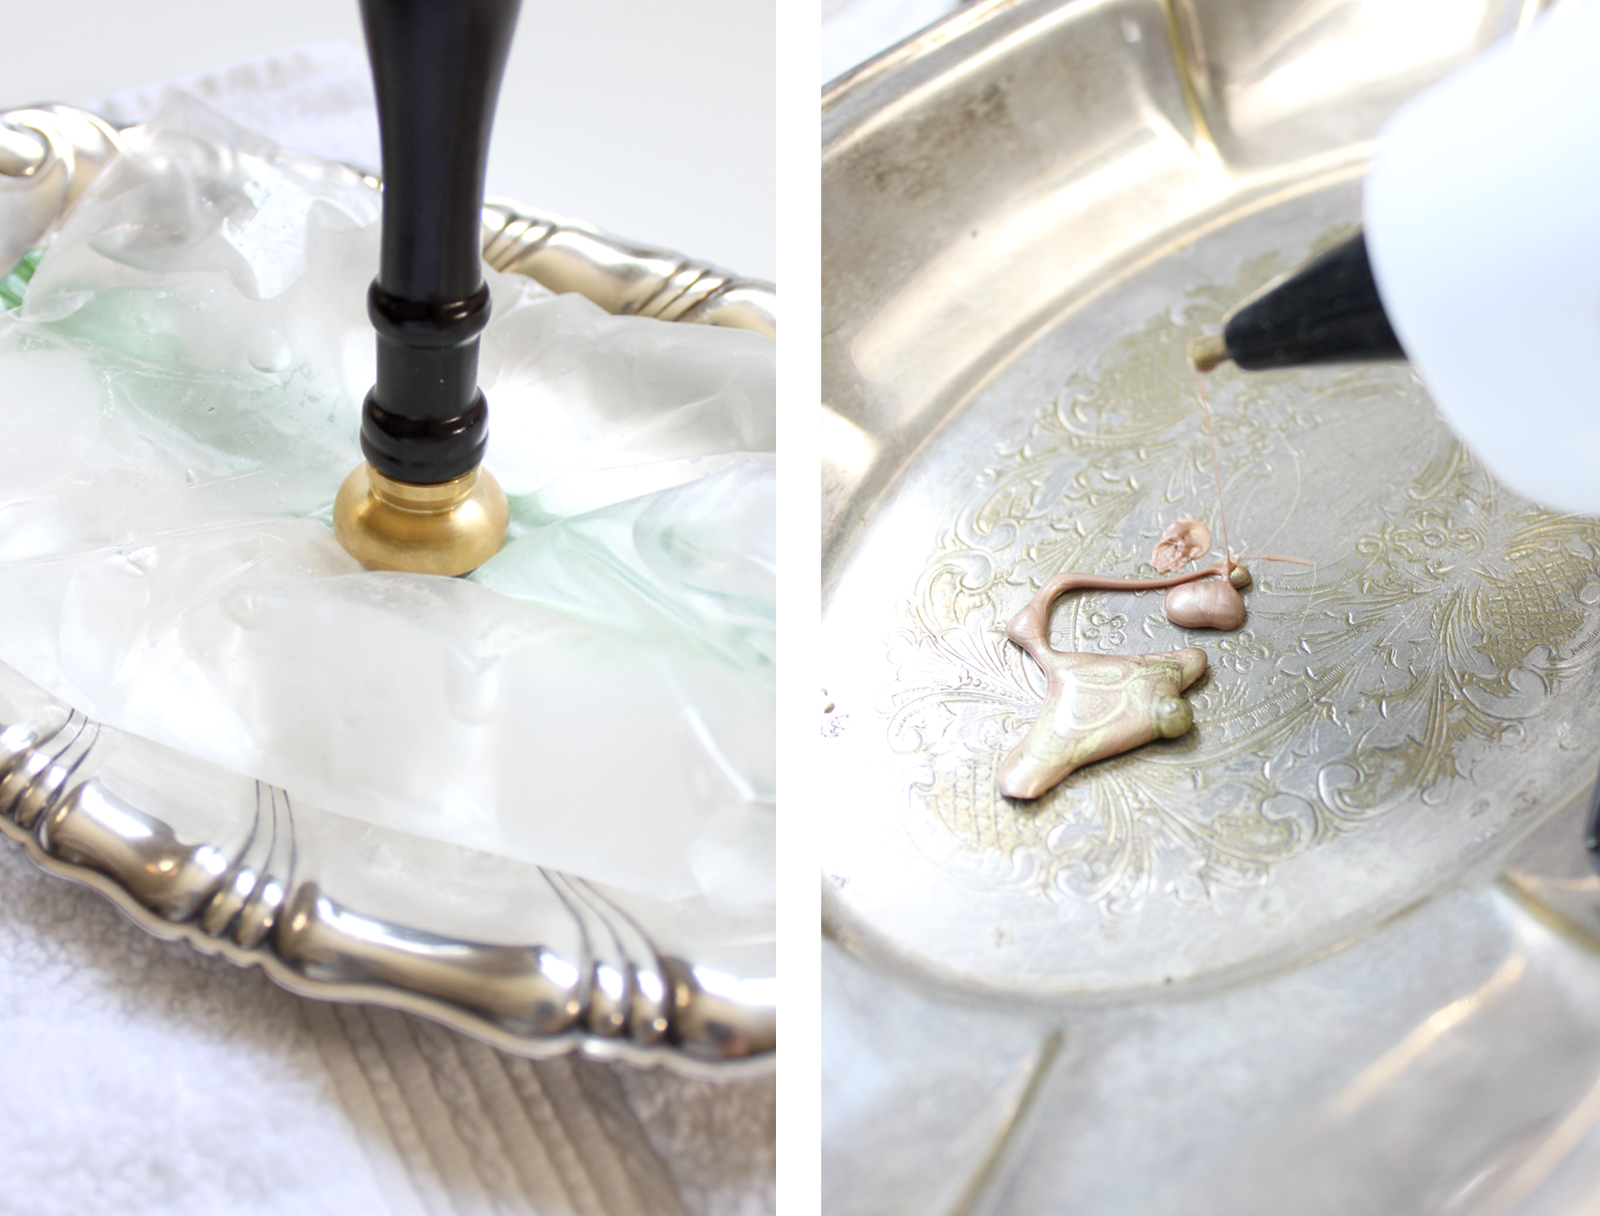
2 - How to Stamp Multiple Wax Seals Quickly!
Use a baggy filled with ice to chill your stamp on between seals! This will help keep your stamp cool and make the process so much faster overall! I also like to put a little bit of water at the bottom so that my stamp has a little place to sit and chill from the very start. Simply dab with a clean cloth to wipe off any condensation and your stamp is ready to go!
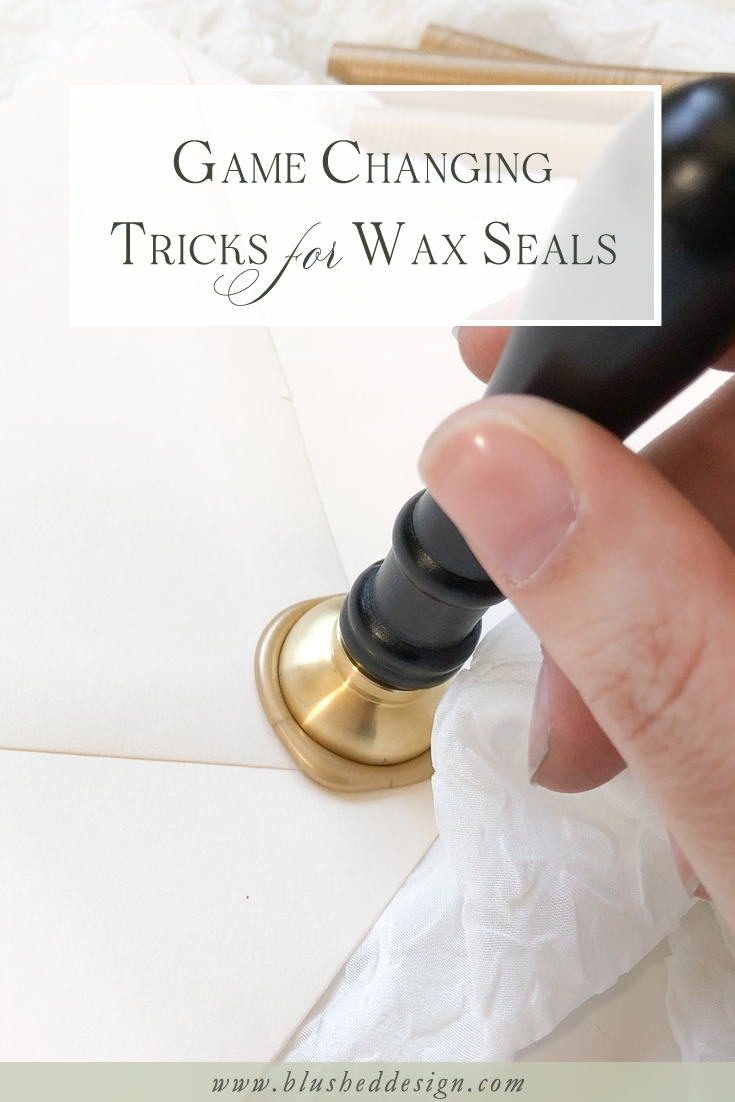
3 - How to Keep Your Wax Stamp Straight
Get a straight stamp every time by marking the side of the seal with a pencil! I prefer marking the bottom of the stamp as I am usually slightly behind the stamp when I am working on it, but feel free to experiment!
Need to save this for later? Pin one of these:
4 - How to Avoid Bubbles in Your Wax
If your wax is bubbling then it is a sign that the wax is too hot! If you’re using a spoon, pull it farther from the flame or allow it to cool a little before pouring. If you’re using a wax gun, set your heat setting to “low”. If you don’t have a setting, try turning it off for a while every few stamps to help regulate the overall temperature.
5 - How to Clean Off Your Spoon
Get wax were you don’t want it? Or even on your glue gun? If it’s not picking or popping off after it has cooled, take it back to the flame! When it’s nice and hot, you’ll be able to wipe the wax away with a clean paper towel.
Don’t want to mess with the flame anymore? Grab some baking soda and dish soap and create a paste. Spread this paste onto the wax (especially good if you have other elements baked in) and message it in. Then take a ball of foil to further exfoliate the paste and wax. Let soak in super hot water for 15-30 minutes and repeat the process as needed.

6 - How to Calculate Enough Wax
While the wax that I use can get me an average of 6-8 stamps out of each stick (for a 1-inch stamp), I always estimate in another stick of wax because I have to be able to PUSH the current stick through the gun itself! Same is true for the wax beads! You need a little extra wax in the spoon to push the wax down onto the paper and off of the spoon, so keep that in mind as you shop!
Artisaire has a handy little wax-to-seal-calculator on their website (shown above and is located on their website in the listing for each color of wax!) that is helpful and I usually start there. But again, always add at least one more!
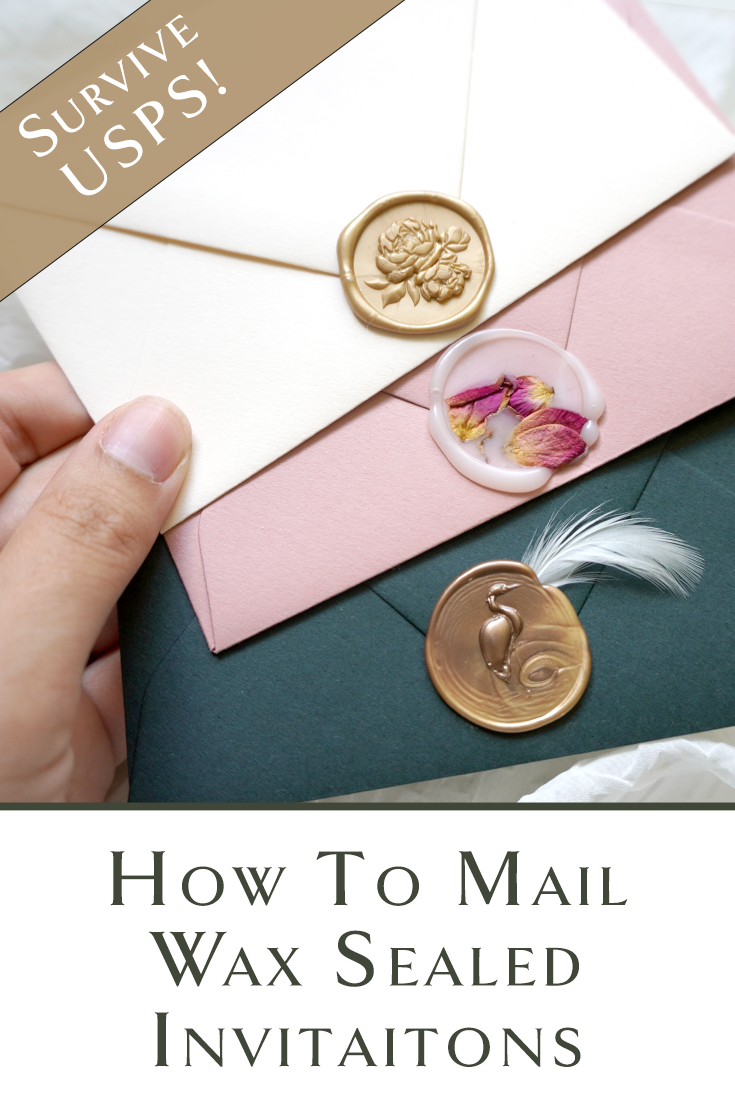
7 - How to Stamp Tricky Materials
If you’re stamping on something that wants to move or “run away” before your wax has cooled, place a small dot of wax on it and immediately stamp it. This will cool that small bit of wax and hold everything in place for you as you place the “final” wax and stamp!
Any tips that I left out?
I’d love to hear your thoughts and ideas for making wax seals a little easier for all of us!
*As a Creative Team Member at Artisaire, I earn a small commission from purchases used through my links, at no extra cost to you!


Some of the links use in this post are affiliate.
You can read my full disclosure and policies here